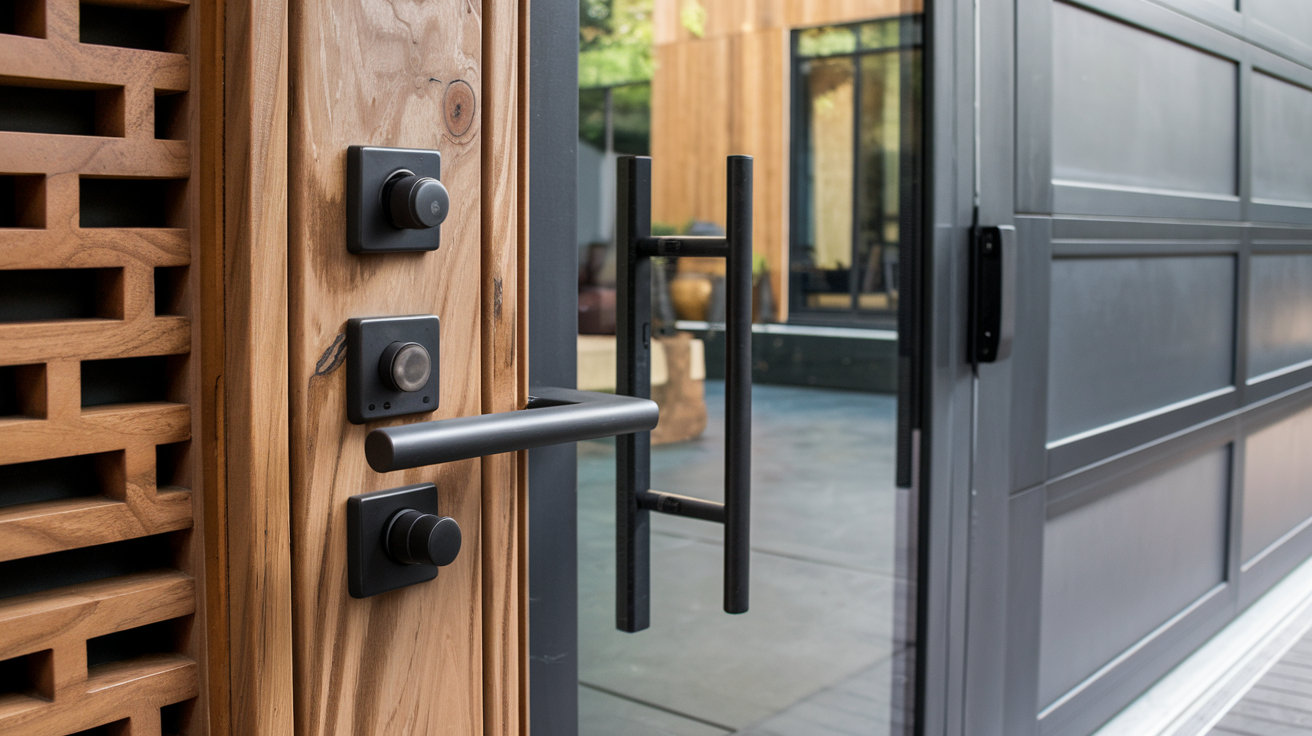
How to Install an Interior Door Handle: A Step-by-Step Guide
Installing an interior door handle might seem like a daunting task, but with the right tools and a clear step-by-step process, it becomes a straightforward DIY project.

Whether you’re replacing an old handle or installing one on a new door, following this guide will ensure a secure and polished result.
Tools and Materials Needed
Before starting, gather the following tools and materials:
- A new door handle set (ensure it includes all necessary hardware, including screws and a latch).
- Screwdriver (flathead and Phillips, depending on the screws provided).
- Measuring tape.
- Drill with appropriate bits.
- Hole saw (if your door doesn’t already have pre-drilled holes).
- Chisel.
- Pencil.
- Level.
- Safety glasses.
- Utility knife (optional).

Step 1: Prepare the Door
Check for Pre-Drilled Holes
Most interior doors come with pre-drilled holes for handles and latches. These include:
- Bore Hole: The larger hole in the face of the door where the handle mechanism fits.
- Latch Hole: A smaller hole on the door's edge for the latch.
If your door already has these holes, proceed to Step 2. If not, measure and mark the locations for the holes based on the handle’s installation guide. Use a hole saw to cut the bore hole and a spade bit for the latch hole.
Clean Up Edges
Ensure the edges around the holes are smooth to allow for an even fit. Use a chisel or utility knife to trim any rough spots.

Step 2: Install the Latch Mechanism
Position the Latch
Insert the latch mechanism into the edge of the door. Ensure the beveled side of the latch faces the direction the door will close.
Trace the Latch Plate
Once the latch is positioned, use a pencil to trace around the latch plate on the door edge.
Chisel the Recess
Using a chisel, create a shallow recess within the traced outline. This will allow the latch plate to sit flush with the door edge. Work carefully to avoid chiseling too deeply.
Secure the Latch
Place the latch back into the recess and secure it with the screws provided in the handle set. Ensure it is tightly fixed but avoid overtightening, which can strip the screws or damage the latch.

Step 3: Attach the Exterior Handle
Align the Handle
Position the exterior (or decorative) side of the handle on the bore hole. Ensure the spindle (the metal rod connecting the two handles) fits through the latch mechanism.
Secure the Handle
Hold the handle steady and attach it using the screws provided. If your handle set includes a backing plate, ensure it’s aligned properly before tightening the screws. Double-check that the handle sits flush against the door surface.

Step 4: Attach the Interior Handle
Align and Secure
Position the interior side of the handle so the spindle fits into its corresponding slot. Secure it using the provided screws. Ensure the handle aligns perfectly with the exterior handle for smooth operation.

Step 5: Test the Mechanism
Once both handles are installed, test the handle by turning it and operating the latch. Ensure:
- The handle turns smoothly.
- The latch retracts and extends without resistance.
- The door opens and closes properly.
If adjustments are needed, loosen the screws slightly, reposition the handle, and retighten.

Step 6: Install the Strike Plate
Position the Strike Plate
Close the door and mark where the latch meets the door frame. Align the strike plate with this mark.
Trace and Chisel
Trace around the strike plate on the door frame. Use a chisel to create a recess so the strike plate sits flush with the frame.
Secure the Strike Plate
Attach the strike plate using the provided screws. Ensure it’s tightly secured but not over-tightened.

Step 7: Final Adjustments
- Double-check all screws to ensure they are secure.
- Test the handle and latch multiple times to ensure smooth operation.
- If the latch does not align perfectly with the strike plate, adjust the strike plate’s position slightly until the latch fits snugly.

Common Issues and Troubleshooting
- Handle Feels Loose: Tighten the screws on both sides of the handle.
- Latch Doesn’t Retract Smoothly: Check for misalignment between the latch and strike plate.
- Door Won’t Close Properly: Adjust the position of the strike plate or ensure the latch plate is flush with the door edge.
Tips for a Professional Finish
- Use a level to ensure the handle is straight before tightening the screws.
- Choose a handle that complements your interior design for a cohesive look.
- Keep spare screws and tools handy for future adjustments or repairs.
Conclusion
Installing an interior door handle is a manageable task that enhances both the functionality and aesthetics of your home. By following these detailed steps and using the right tools, you can achieve a professional-looking result. Whether you're upgrading outdated hardware or completing a new door installation, a well-installed door handle adds the perfect finishing touch to your space.

