
How to Put Up a Door Frame
Samuel MorrisHow to Put Up a Door Frame: A Comprehensive Guide
Installing a door frame is a crucial step in ensuring that your door fits correctly, operates smoothly, and provides the necessary structural support.

Whether you are installing a new door frame in a newly constructed space or replacing an old one, following the correct procedure is essential for a successful installation. This guide will walk you through the process step by step.
Watch Full Video | Click Here
Tools and Materials Needed
Before starting, gather the following tools and materials:
- Pre-made door frame kit or timber for a custom frame
- Spirit level
- Measuring tape
- Saw (hand saw or circular saw)
- Drill and screwdriver
- Screws and nails
- Wood glue
- Chisel
- Hammer
- Shims (packers)
- Pencil and square ruler
- Sandpaper
- Wood filler
- Caulk or sealant

Step 1: Measure and Prepare the Opening
- Measure the height and width of the door opening to ensure the frame will fit properly.
- Check if the opening is level and plumb using a spirit level.
- If necessary, adjust the opening by trimming or filling areas with shims to create an even and stable base for the frame.

Step 2: Assemble the Door Frame
- If using a pre-made door frame, follow the manufacturer’s instructions for assembly.
- If constructing your own frame, cut the head and side jambs to the correct dimensions.
- Lay the components flat and join them together using wood glue and screws or nails.
- Ensure all corners are square using a square ruler.

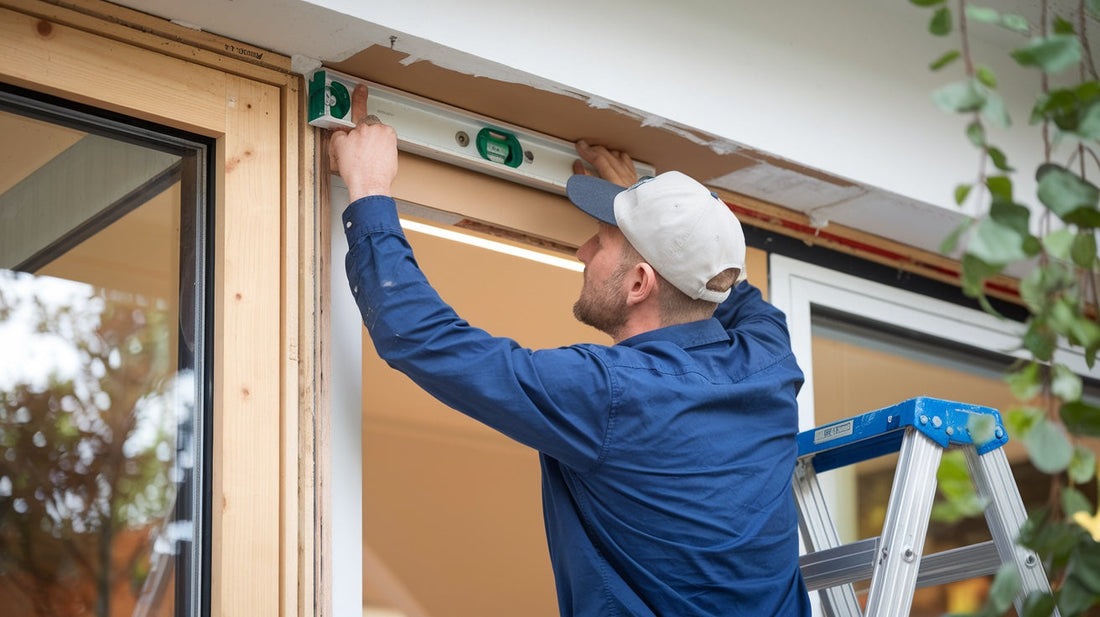
Step 3: Position the Frame in the Opening
- Place the assembled frame into the door opening.
- Use shims to hold the frame in place and make fine adjustments to its position.
- Check that the frame is level and plumb with a spirit level before securing it.

Step 4: Secure the Door Frame
- Drill pilot holes through the frame into the surrounding wall structure (studs or masonry) to prevent wood splitting.
- Secure the frame with screws or nails, starting at the top and working downwards.
- Keep checking for levelness and adjust shims as needed before fully tightening the fasteners.

Step 5: Final Adjustments and Finishing
- Trim any protruding shims using a saw or chisel.
- Fill any visible gaps with wood filler or caulk for a smooth finish.
- Sand down rough edges and prepare the frame for painting or staining.

Step 6: Install the Door (Optional)
- Place the door inside the frame to check for proper clearance and alignment.
- Mark hinge positions and chisel recesses in the frame to accommodate the hinges.
- Attach the door to the frame with screws, ensuring smooth operation.
- Install the door handle and latch mechanism as per the manufacturer’s instructions.

Final Thoughts
A properly installed door frame is essential for a functional and long-lasting door. Taking the time to ensure accuracy and stability during installation will save you from future issues. With the right tools and careful attention to detail, you can achieve a professional-looking finish that enhances both the aesthetics and performance of your door.
By following these steps, you can confidently put up a door frame and prepare for a successful door installation!